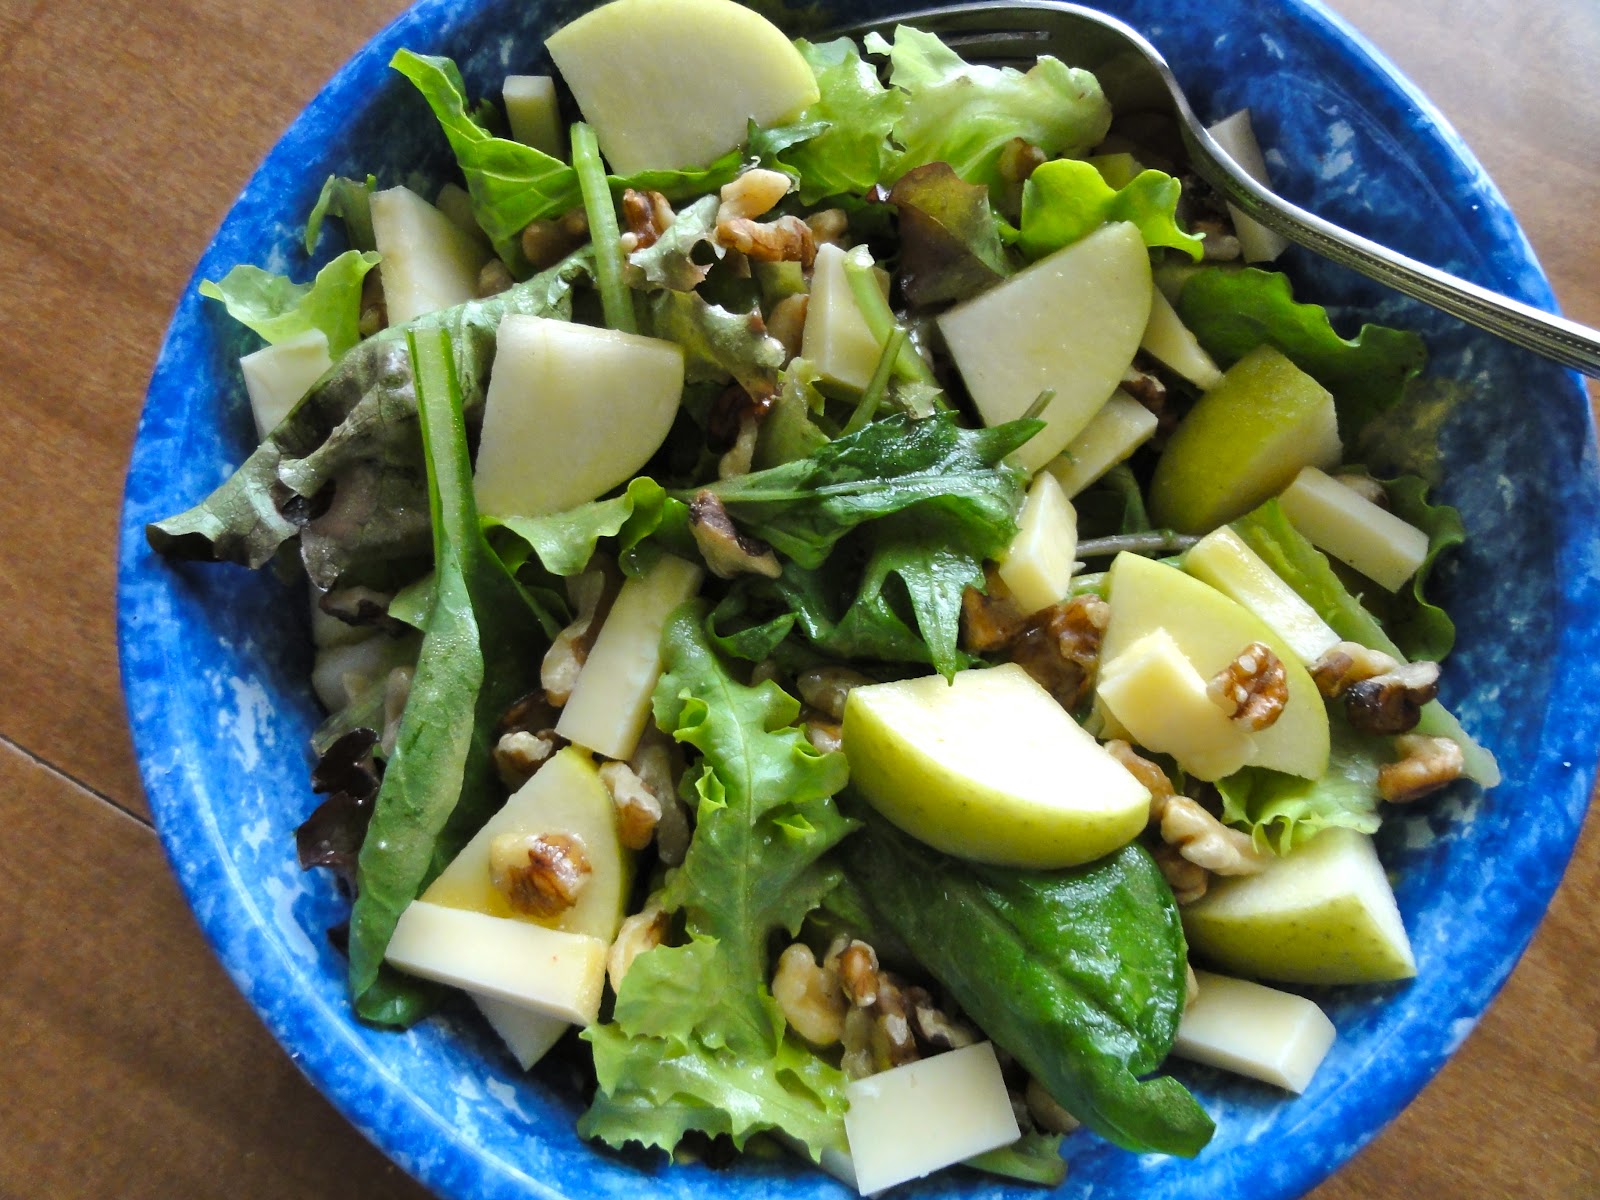
This past Saturday I woke up to a chilly breeze coming through my bedroom window. The farmer's market was brimming with acorn squash, pumpkins, and apples. I don't care that it's early September, I have declared the arrival of fall (my favorite season). So of course I made a trek to the apple orchard. In spite of a rough season, with a spring freeze and brutal drought, I was still able to come home with 4 brimming pecks of fresh apples and a gallon of cider. I wait the entire year for this time to come around again; I love most fruits, but nothing compares to apple season. I could probably go all Bubba Blue with apples, listing off the many apple concoctions I've made (or my mom made while I was growing up) and love...and no doubt you'll see some of my favorites in the coming weeks.
For now, we'll start with something a little different - a savory apple dish. After all, why should we limit the delicious apple to only sweet dishes? The combination of the sweet-tart apple with mildly tangy goat cheese and a judicious sprinkling of herbs in a hearty whole wheat crust is perfect, and when you dip it into a little cider mustard, it's the way that fall should be. The mini calzones come together really quickly, so your gratification need not be delayed (to be particularly efficient, you can slice the onions with a mandoline - I did - and prepare the other ingredients while the onions cook). If you choose to make the homemade mustard, I would recommend doing that a couple of days in advance, since fresh mustard is really potent. You can also cheat and mix brown sugar and cider into quality store-bought Dijon mustard if you don't have the patience. Another bonus is that the calzones freeze well, so you can pop them out of the freezer and enjoy a little apple-y deliciousness long after apple season is over.
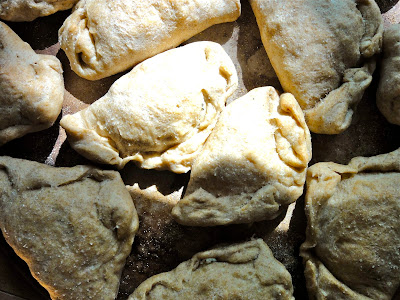
Apple & Goat Cheese Mini Calzones
1 recipe whole wheat pizza dough (pick your favorite)
1/2 Tbsp butter
1 medium sweet onion, thinly sliced
1 large crisp apple
6 oz chevre goat cheese
1/4 cup shredded Parmesan cheese
2 tsp dried thyme (or 2 Tbsp fresh)
1 tsp dried rosemary (or 1 tsp fresh)
olive oil and sea salt
Directions:
1. Preheat oven to 500 degrees F.
2. If making your own dough, make it first and allow to rise.
3. While dough rises, combine butter and onion in a small saucepan and cook over medium heat, stirring occasionally, until onions have "carmelized" (are mostly browned). This will take 15-20 min.
4. Peel and dice apple. Combine goat cheese, Parmesan cheese, thyme, and rosemary in a bowl.
5. Roll dough out into a rectangle, and cut into 12 3x3" squares.
6. Top squares successively with onion slices, apple, and a dollop of cheese mixture.
7. Fold top over filling mixture, and tuck in edges to seal. Brush tops with olive oil and a light sprinkling of sea salt.
8. Place calzones on a pizza stone or baking sheet generously sprinkled with cornmeal. Bake at 500 degrees F until tops are golden and crispy. Cool for a few minutes before serving (or, cool completely and store in airtight bags in the freezer for up to 3 months). Dip in cider mustard or your preferred dipping sauce.
Serves 3-4 as a main dish, or 6 as an appetizer
Cider Mustard
1/2 cup mustard seeds, mixture of yellow and brown
1/3 cup cider vinegar
1/4 cup fresh apple cider
3 Tbsp dark brown sugar
1 tsp salt, heaping
Directions:
1. Place mustard seeds in a glass pint jar or medium mixing bowl, and add enough water to cover seeds by 3 inches. Allow to soak at room temperature for ~12 h or overnight.
2. Drain excess water from seeds. Add to a blender with the remaining ingredients, and blend until smooth.
3. Chill in the fridge for a couple of hours before serving, or store in a non-reactive container in the fridge for 2 months (will probably last longer than that, use your judgement). Mustard will be quite spicy to begin with, but will mellow within a few days.
Makes ~1 1/2 cups mustard